How to e-verify ITR-V
Only six weeks are left and people have already begun filing their income tax returns since the extended filing deadline is now 31st October. After filing your ITR, it is mandatory to verify your return. Your return will not be processed until it is verified electronically or by sending a signed copy to CPC, Bangalore.
E-verify your Return
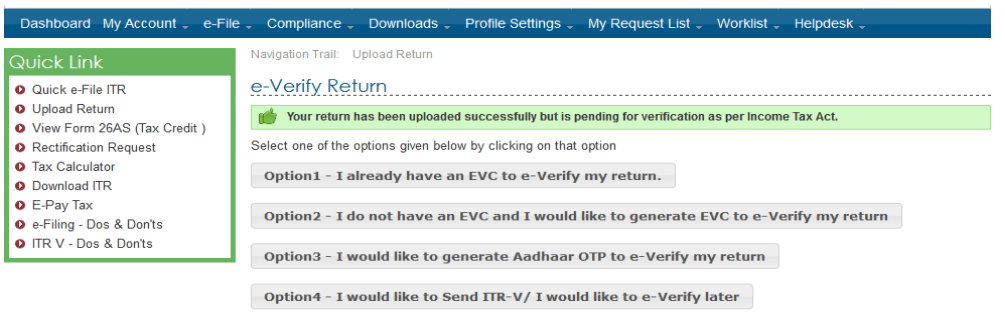
When you choose to e-verify, you will be presented with three options:
These are as follows:
- "I already have an EVC to e-verify my return."
- "I do not have an EVC and I would like to generate one to e-verify my return."
- "I would like to generate Aadhaar OTP to e-verify my return."
Prepare Early for Next ITR Filing
- Easy ITR e-filing with All India ITR
- E-file your ITR in a few simple steps
- Expert assistance via Chat and Email

Modes of Verification
- EVC received on your Registered Mobile number and email
(Generated through the e-Filing portal, valid for 72 hours). - Aadhaar OTP sent to your mobile
- EVC generated through Net Banking
- EVC generated through Bank Account Number
- EVC generated through Demat Account Number
- EVC generated through Bank ATM
Modes of Verification
- EVC received on Registered Mobile number and email
(Generated through e-Filing portal, valid for 72 hours). - Aadhaar OTP sent to your mobile
- EVC generated through Net Banking
- EVC generated through Bank Account Number
- EVC generated through Demat Account Number
- EVC generated through Bank ATM
- Verify ITR by sending ITR-V to CPC Bangalore
How to e-verify your returns if you already have an EVC
Step 1:
Click the “I already have an EVC to e-verify my return” link. When the screen appears, enter your EVC in the provided box and click submit to e-verify.
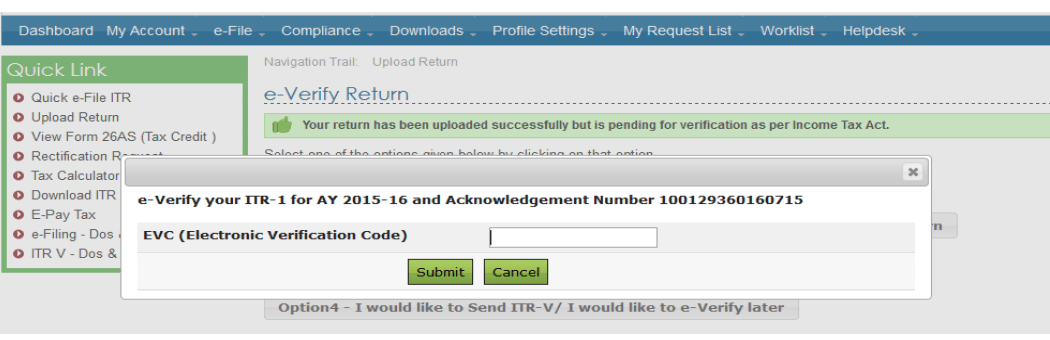
Step 2:
A confirmation screen reading “Return successfully e-verified, Download Acknowledgement” will appear.

Relax! You have successfully e-verified your income tax return.
You don’t have an EVC and you want to generate it for e-verification
Step 1:
Click the “I don’t have an EVC and I would like to generate one to e-verify my return” link.
Step 2:
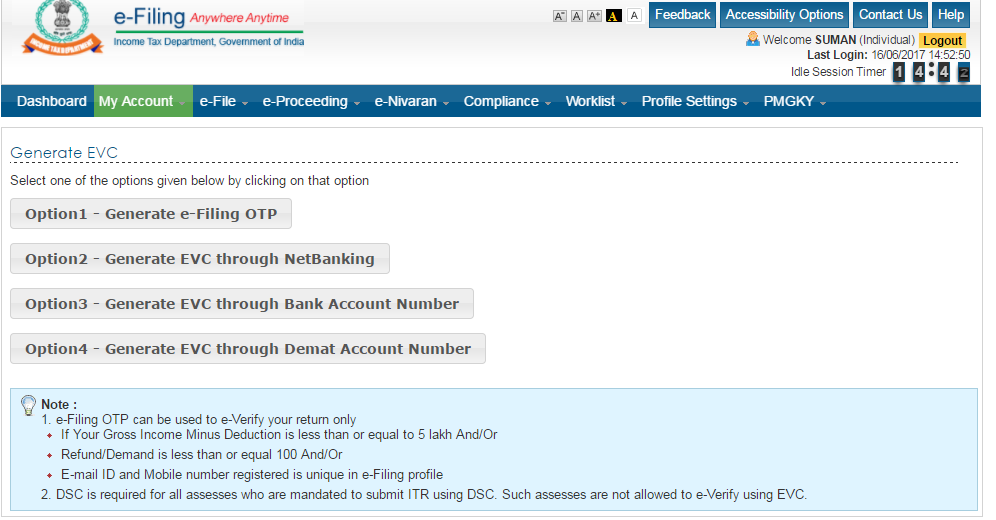
A screen appears asking you to select from the following two options:
- EVC – Through Net Banking
- EVC – To Registered Email Id and Mobile Number
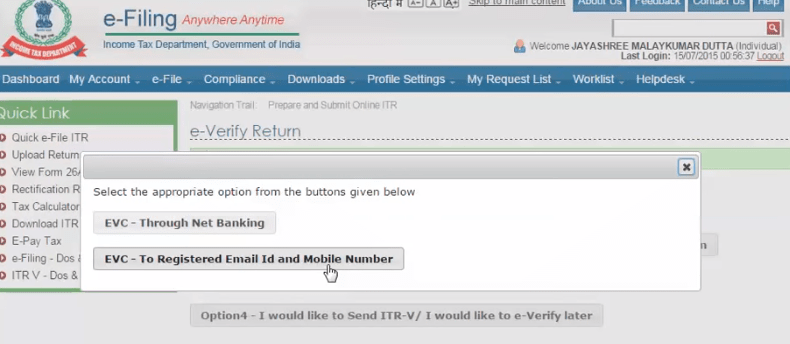
Step 3:
Select “EVC – To Registered Email Id and Mobile Number”.
Step 4:
A pop-up appears with the EVC sent to your mobile and email. Enter the EVC in the box provided.

Step 5:
After submitting the EVC, a confirmation screen reading “Return successfully e-verified, Download Acknowledgement” will appear.
Relax! Your ITR-V has been successfully verified.
Verify Return through Aadhaar OTP
For e-verification via Aadhaar OTP, ensure that your Aadhaar and PAN are linked on the income tax website. If not, you will receive reminders to complete the linking process. Once linked, ensure your registered mobile number (as per Aadhaar) is up-to-date.
Follow these steps:
Step 1:
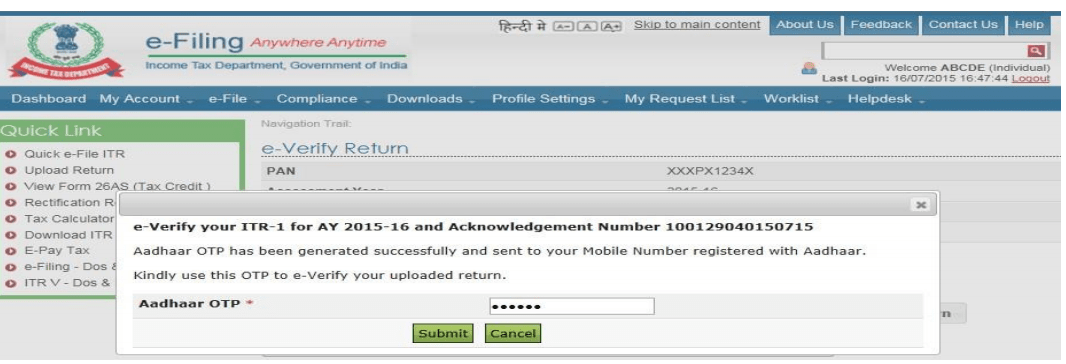
After uploading your return, choose the option “I would like to generate Aadhaar OTP to e-verify my return.” You will receive a one-time password on your registered mobile.
Step 2:
Enter your Aadhaar number and submit the received OTP.
Step 3:
A confirmation screen reading “Return successfully e-verified, Download Acknowledgement” will appear.
Relax! Your return is verified.
E-verifying ITR-V through Net Banking
Log in to your net banking account and click on the "income tax e-filing" tab to be redirected to the income tax website. From there, log in and navigate to view your returns. Locate the pending e-verification option and proceed.
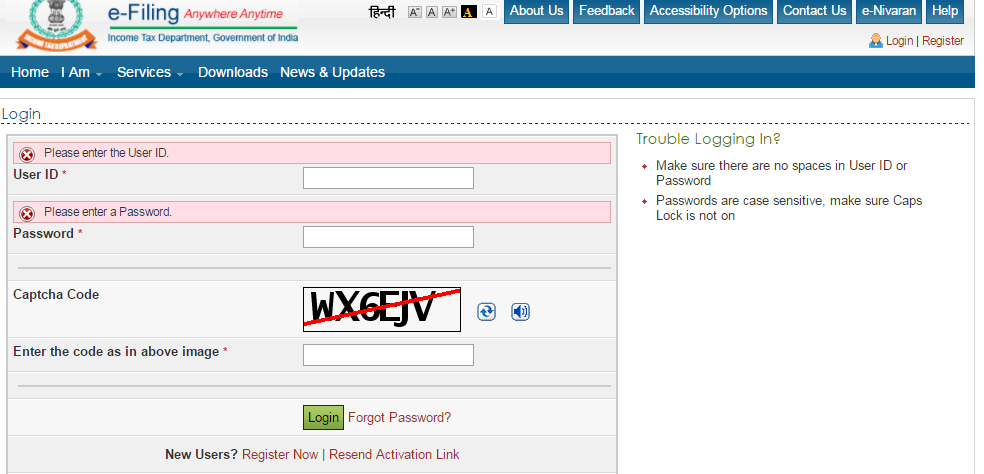
Step 1:
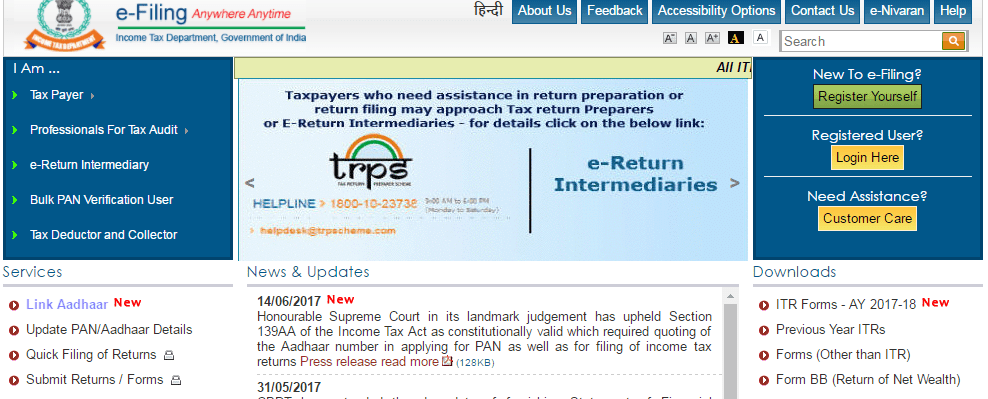
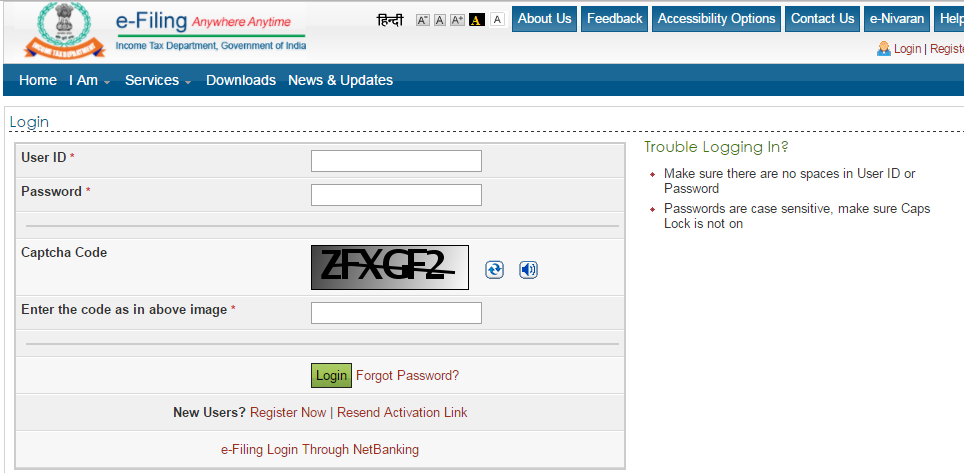
Go to the income tax department e-filing website and click on the registered user login.
Step 2:
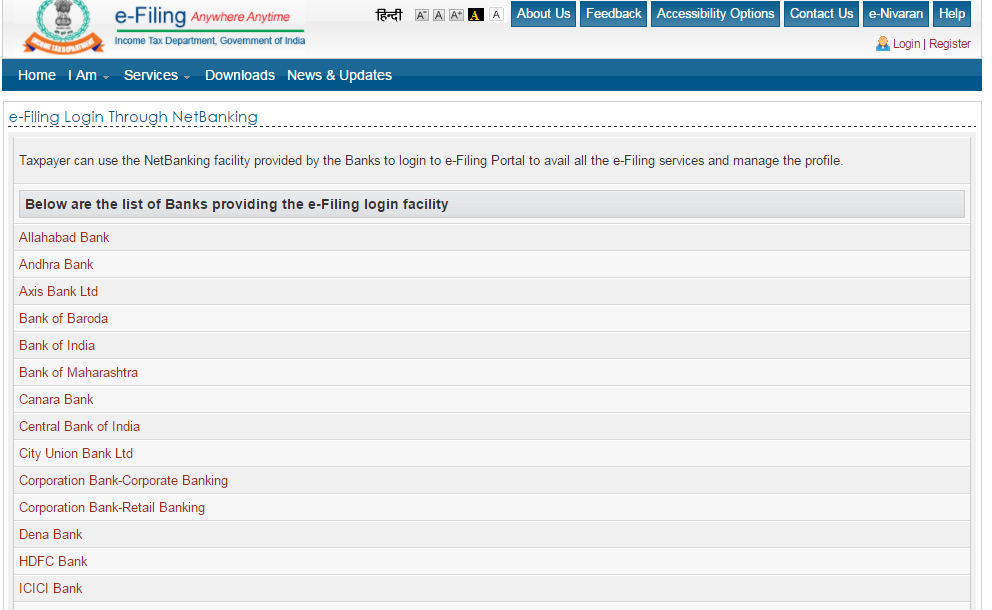
At the bottom of the login page, click “e-Filing Login through Netbanking”.
Step 3:
A list of banks will be displayed.
Step 4:
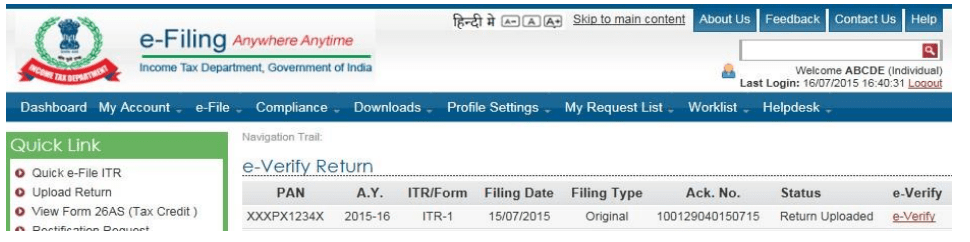
After logging in via net banking, a screen for e-verification appears.
Step 5:
Click on the e-verify link and then the continue button.
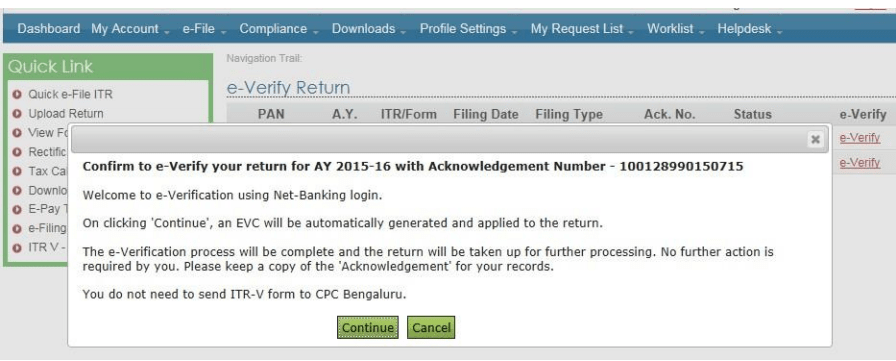
Step 6:
A confirmation screen reading “Return successfully e-verified, Download Acknowledgement” will appear.
Relax! Your income tax return is verified.
Verify with EVC through Bank Account Number
To generate an EVC via your Bank Account Number, first ensure your account is pre-validated. If not, pre-validate it, then generate the EVC.
Pre-validating your Bank Account Number:
Step 1:
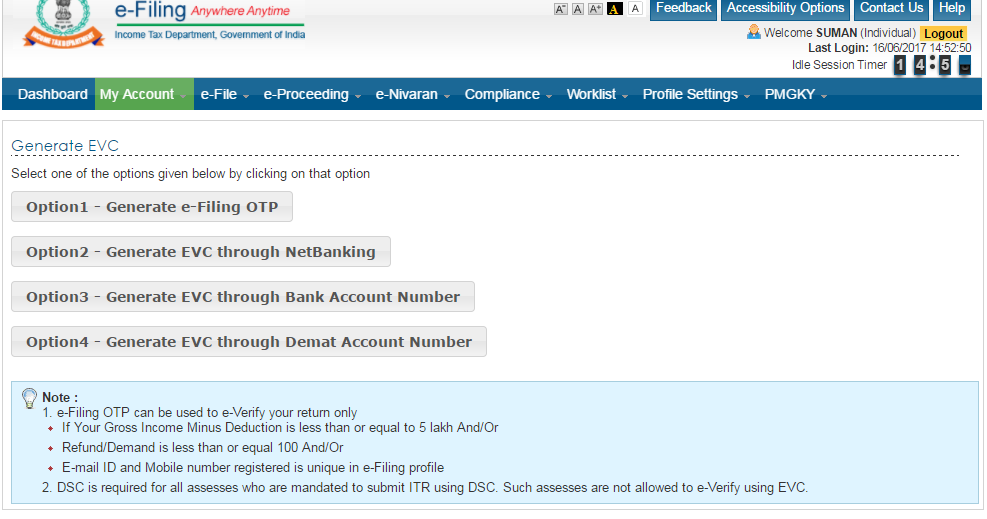
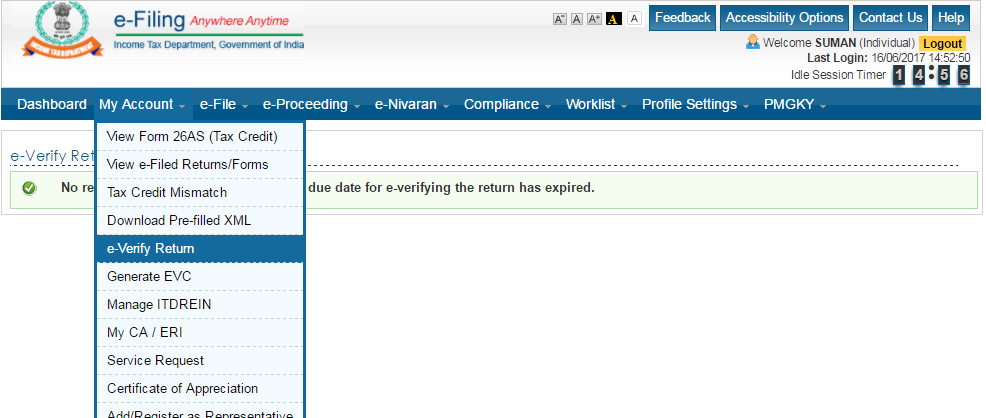
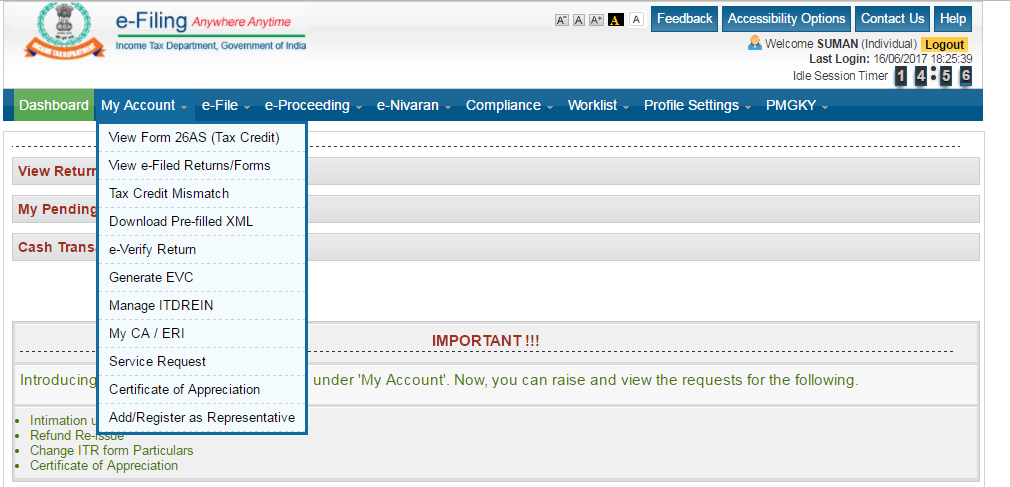
After logging in on the income tax e-filing website, go to the My Account section and click “Generate EVC”.
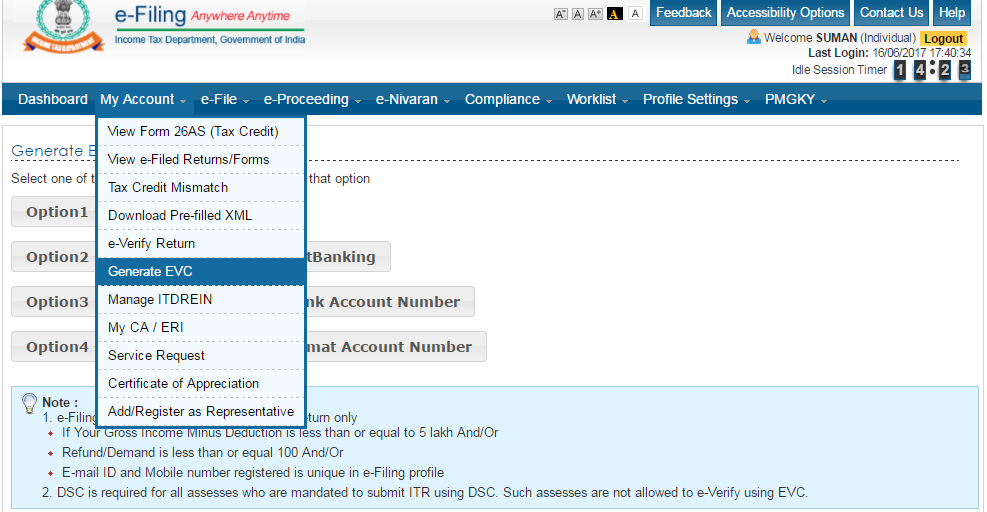
Step 2:
Select “Generate EVC through Bank Account Number”.
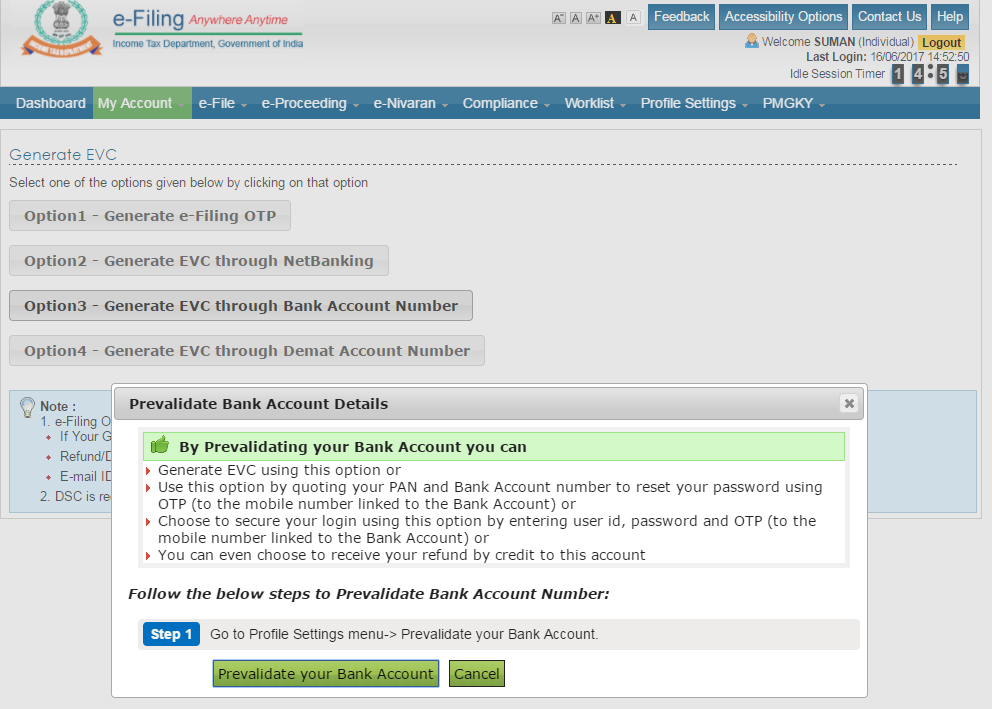
Step 3:
Click “Prevalidate your Bank Account” in the pop-up that appears.
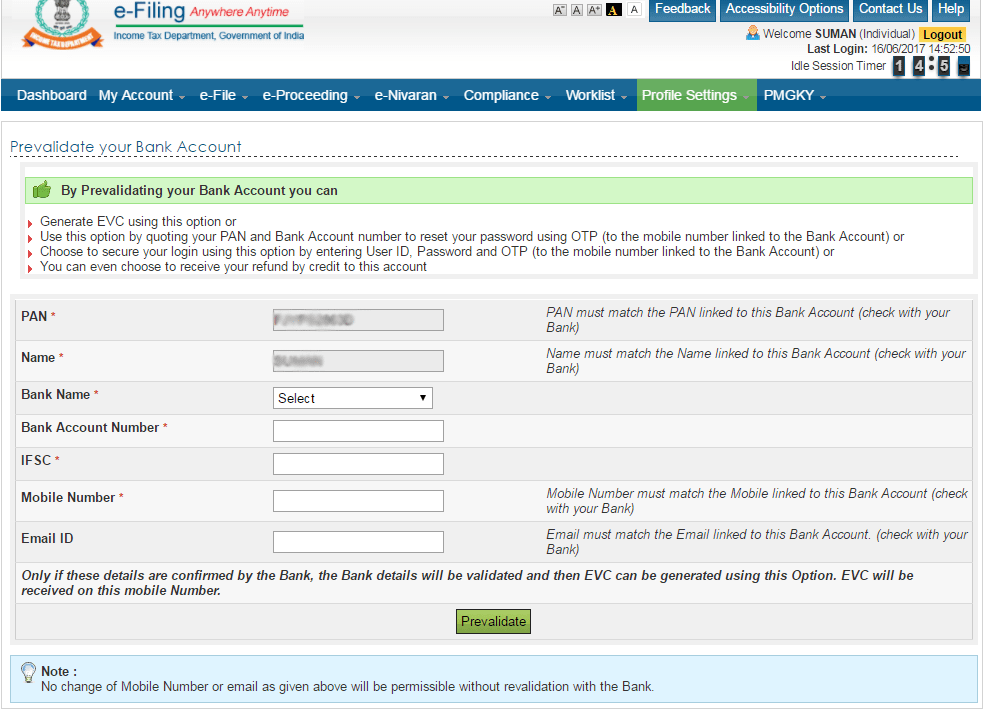
Step 4:
Provide your bank details to pre-validate your account.
Step 5:
After successful pre-validation, click “YES” to generate the EVC.
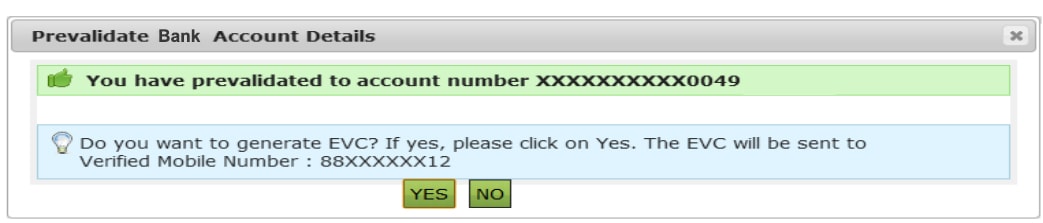
Step 6:
Your EVC will be sent to the mobile number linked to your bank account.
EVC is generated, now e-verify
Step 1:
Return to “My Account” and click “e-Verify Return”. An e-verification window will then appear.
Step 2:
Enter the e-verification code and click “Submit”.
Step 3:
A confirmation screen will appear, indicating your return is successfully verified.
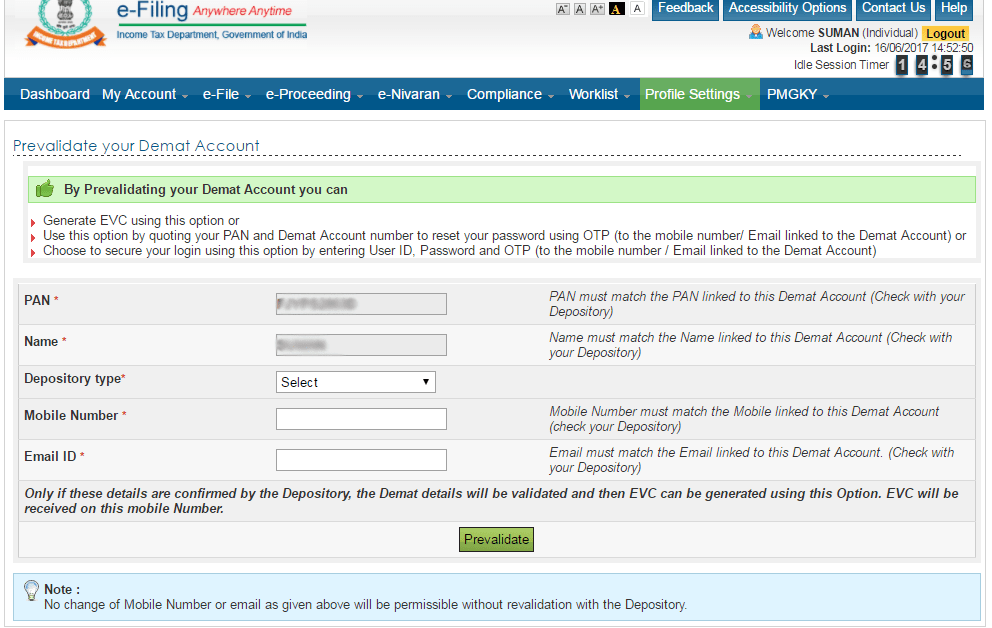
Verify with EVC through Demat Account Number
For generating an EVC using your Demat Account Number, ensure that your Demat account is pre-validated. If not, follow the steps below to pre-validate and then generate your EVC.
Pre-validating your Demat Account Number:
Step 1:
Log in to the income tax e-filing website and navigate to the My Account section. A dropdown list will appear.
Step 2:
Select “Generate EVC” from the dropdown.
Step 3:
Select “Generate EVC through Demat Account Number”.
Step 4:
Click the “Prevalidate Demat Account” pop-up option.
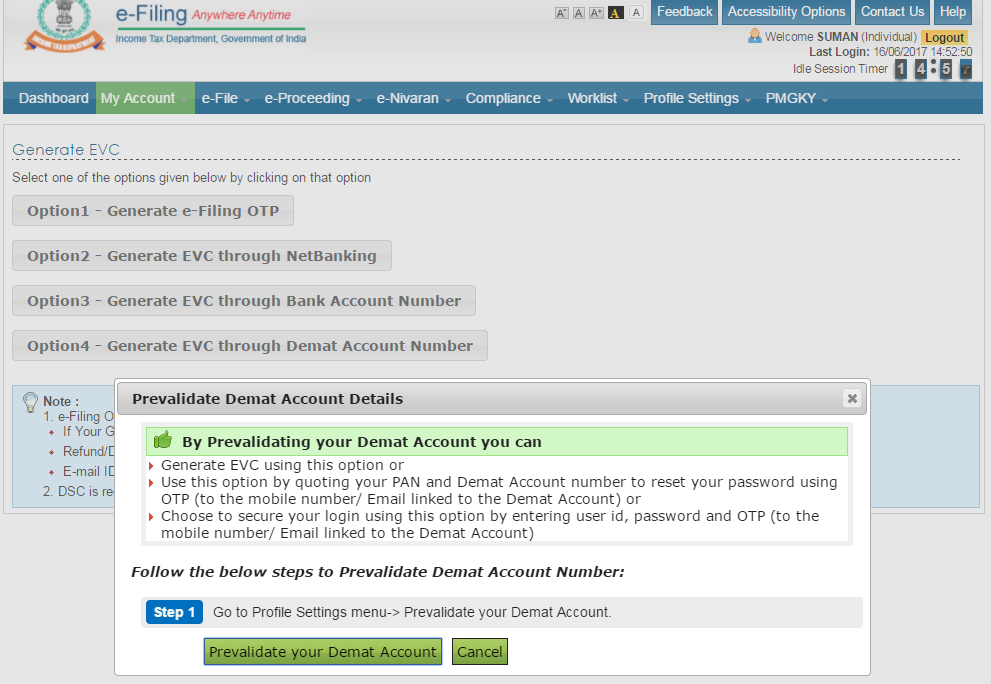
Step 5:
Provide your details to pre-validate your Demat account.
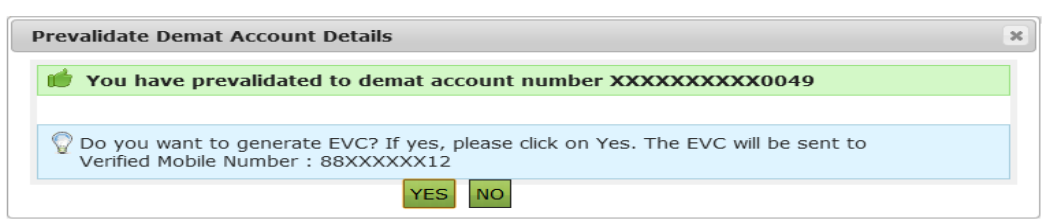
Step 6:
After successful pre-validation, click “YES” to generate the EVC.
EVC is generated, now e-verify
Step 1:
Return to “My Account” and click “E-verify Return”.
Step 2:
Enter the EVC code and click “Submit”.
Step 3:
A confirmation screen will appear confirming that your return is successfully verified.
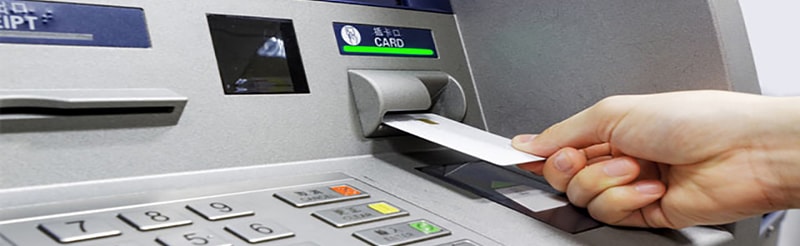
E-verifying ITR-V by EVC Generated through Bank ATM
Taxpayers who do not have a pre-generated EVC can generate one via their ATM card (linked to the account used for e-filing).
Step 1:
Visit your Bank’s ATM.
Step 2:
Swipe your card, enter your PIN and select the option “PIN FOR INCOME TAX FILING” to generate an EVC.
Step 3:
Your EVC will be sent to your registered mobile number and email.
Step 4:
Log in to the e-filing portal.
Step 5:
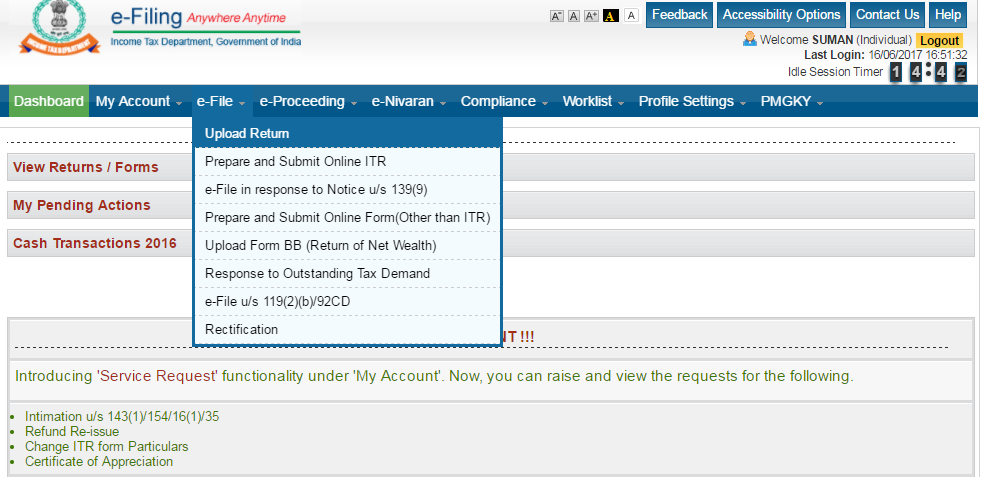
Under the “e-file” section, select “Upload Return” to upload your return.
Step 6:
Choose the option “I already have an EVC to e-verify my return.”
Step 7:
Enter the EVC generated through the Bank ATM and submit.
Step 8:
A confirmation screen will appear indicating that your return is successfully e-verified.
Verify ITR by Sending ITR-V to CPC Bangalore
If you are unable to e-verify your ITR immediately, you can download ITR-V and send it to CPC, Bangalore within 120 days of filing your return. Make sure you sign the ITR-V in blue ink before sending it via registered or speed post to the following address:
CPC, Post Box No - 1, Electronic City Post Office, Bangalore - 560100, Karnataka, India.
Frequently Asked Questions
What is ITR-V e-verification?
It is the electronic process of verifying your income tax return using methods such as EVC or Aadhaar OTP so that your return can be processed without the need for manual submission.
What are the available modes for e-verification?
You can choose from EVC via registered mobile/email, Aadhaar OTP, net banking, bank account number, Demat account number, or bank ATM generated EVC.
What is the filing deadline for the upcoming season?
The extended deadline for filing your income tax return is 31st October. Make sure to complete your e-verification well in advance.